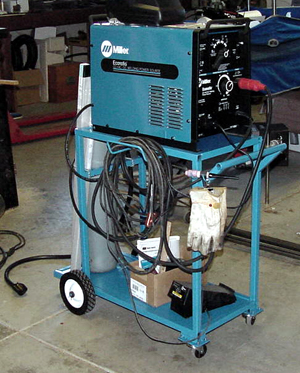
| Photo #1: My first project: a cart for the Econitig welder. At this point I only knew how to weld flat stuff, so there are no welds in the corners. I left the hole I blew in one section as a reminder that there's always room for improvement... |
|
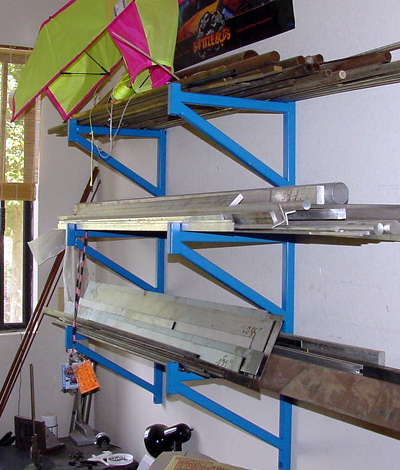
| Photo #2: My second project: a set of 4 material racks; 2 of which hang in my small shop office. Once I had mastered the technique of corner welds, so that all pieces are welded on all 4 sides, I tacked these together. Material is .09" wall 1" square tubing. Each one is anchored to wall studs with 4: 1/4"dia. x 3" long hex head lag screws. |
|
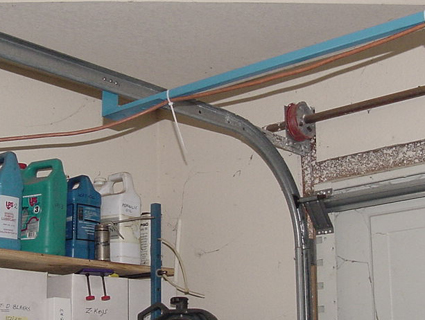
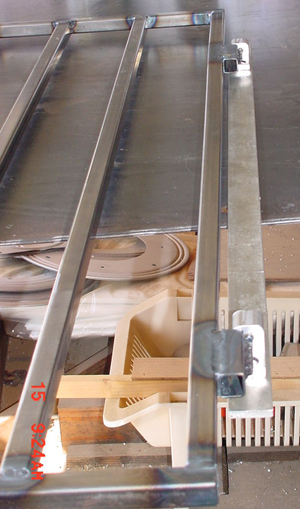
| Photo #3: Roll-up doors can be a problem when you would prefer to drop an air line or extension cord from the ceiling in that area. I dodged that bullet by making this bridge assembly, which attaches to the door's guide rails with 1/4" BHMS, which just clear the rollers. |
|
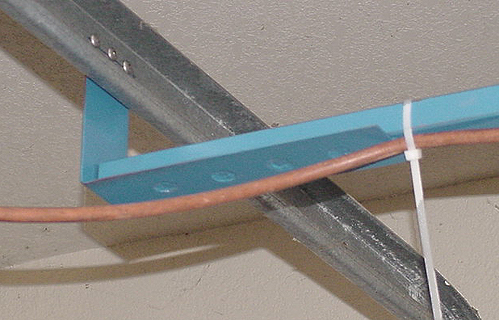
| Photo #4: To maximize the weld area between the flat end straps of the bridge I first bored some 5/8" holes in them, so that welds could be made not only along the sides of the tube-strap joint, but around the perimeter of these holes as well. |
|
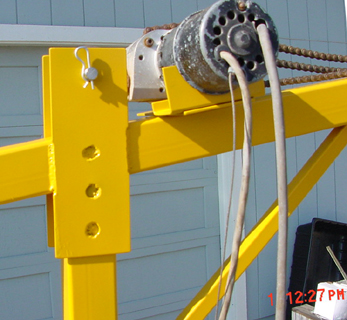
| Photo #5: The trouble with store-bought "cherry pickers" is that they are just too damned heavy for the kind of light-duty stuff that I need to lift. Here's my homebrew unit which can lift about 250 lbs without bending too alarmingly. It comes apart into 3 sections, none weighing more than 30 lbs or so. It stores neatly in the bed of my truck if I need to take it on the road, too. On the back there would normally be a car battery and inverter (to run the detachable electric hoist) which serve as counterweight. |

|
| Photo #6: Here's a close-up of the hoist attachment cradle. A removable pin grabs the hoist's top hook, to lock it to the gantry. Note again my use of bored holes in flat pieces, to increase lengths of welds. |
|
| Photo #7: This is why I needed the gantry. Here's a close-up of my middleweight battlebot T 34, which tips the scales at 120 lbs. It is forever changing and I've taken it apart and rewelded it half a dozen times. If you ever want to learn welding a battlebot is an ideal project! |

|
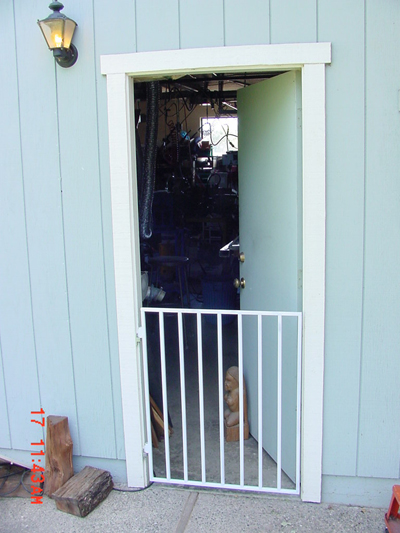
| Photo #8: Now that SWMBO is into fostering doggies it's become necessary to keep them from sneaking thru the shop and out thru the big roll-up door. I made this little gate in an afternoon for maybe $10 in materials; it takes the place of a store-bought unit that was "on sale" for $100.-! |
|
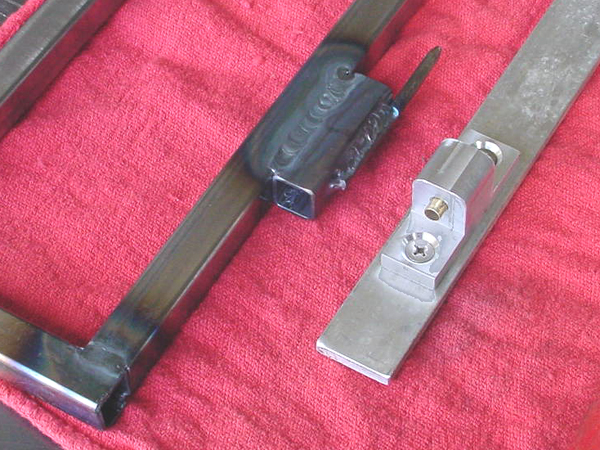
| Photo #9: Here's the jig I used to position the gate's hinge pins for welding. Once they had been attached I used the same aluminum jig to drill holes accurately in the door frame. To my complete astonishment this worked first time! |
|
| Photo #10: I had wanted to press Oilite bushings into the aluminum hinge blocks, but I didn't have any with the right bore and I couldn't get any for some time. Instead I made a deep chamfer in both ends of the holes in the aluminum blocks. I inserted bits of hobby shop brass tube and swaged them in place with a steel ball and a whack from a small hammer. |
|
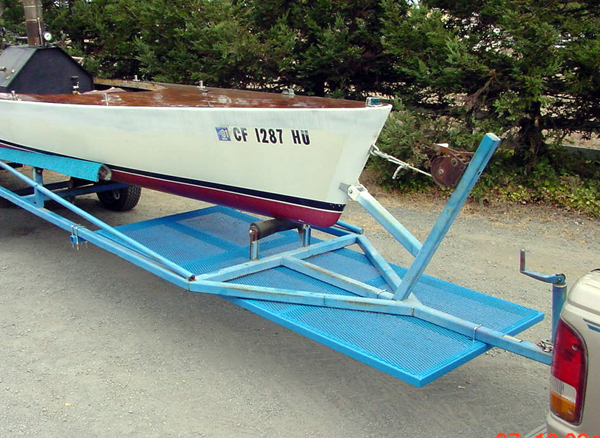
| Photo #11: My latest project has been to improve my steamboat's trailer by adding a platform that crew can stand on, to aid in launching and retrieving the vessel. It's by far the largest thing I've ever welded, but it came out pretty nice, yes? It's made of .090" wall 1-1/2" sqare tubing and it hangs onto the trailer frame with a series of U-bolts. |
|
| Photo #12: Gantry #3 is too new to have had its picture taken. Once I get it painted I'll round out the dozen! |