Feb '07
Works in progress

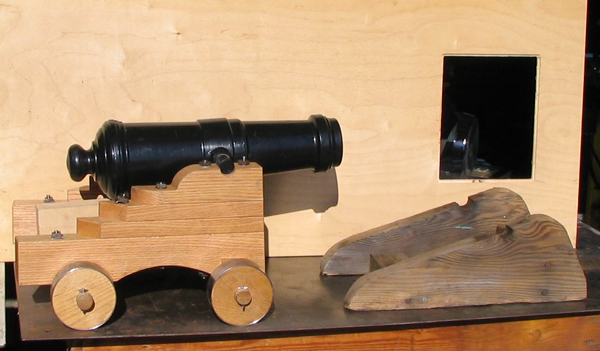
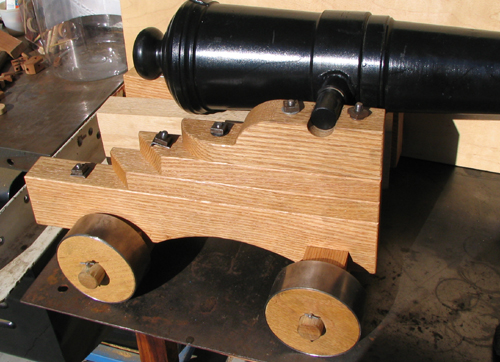
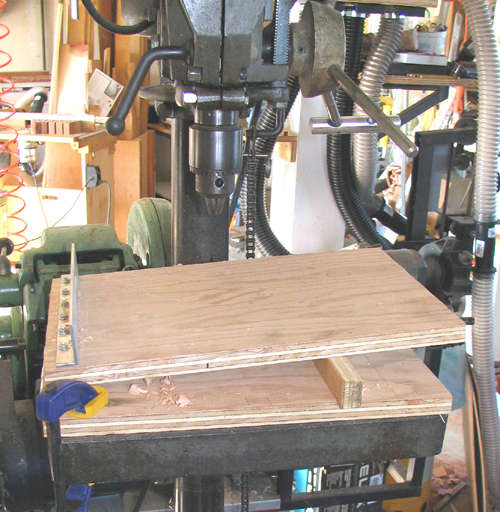
February was a very busy month in my shop! For instance: several years back when I was attending the annual Great California Delta Steamboat Meet I happened to see a small cannon at the Saturday dockside swapmeet. Although the mounting was a POS, the barrel was perfect! I plunked down my hard unearned money and took it home, whereupon it malingered under a workbench until recently. So here, in pictures, is what I did to improve its appearance and functionality. For a peek at some of the antics I had with the finished cannon here's a link to a short video. The second kaboom is my little beastie.

Photo #1: A little before and after photo here; after a week-and-change of research followed by shop work the barrel now sits atop a 'historically accurate' naval-style carriage, while the swap meet special sits in its sights.
Photo #2: Carriage from a different angle. Not quite finished but well on the way. It's not readily apparent here, but in order to give the laminations maximum strength, the bolts connecting them aren't perpendicular to the stack; rather they one way or the other to connect to the axle timbers beneath. I made shim washers top and bottom, so that tightening nuts would bear on 'flat' surfaces.
Photo #3: To get repeatable results, when drilling the angled bolt holes in the carriage laminations, I made this tilting jig. The fence on the left was the main hack. Top and bottom are connected with piano hinge and the angle was set with a protractor and a bit of scrapwood for a wedge: low tech is always best, eh?

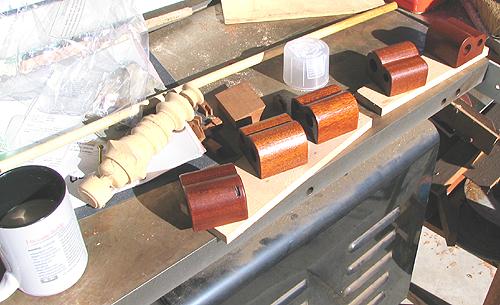
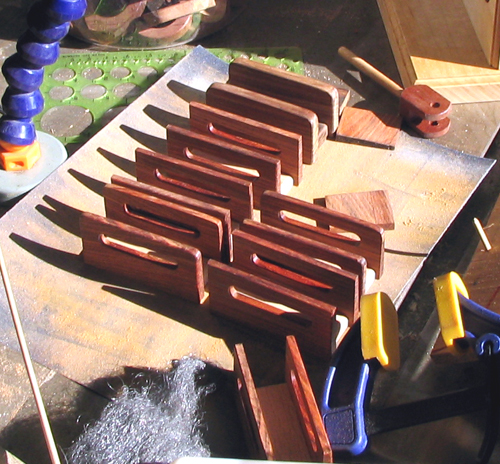
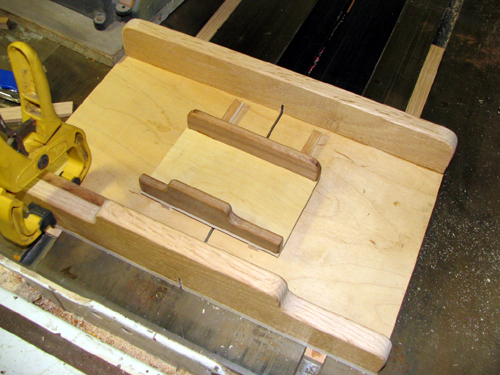
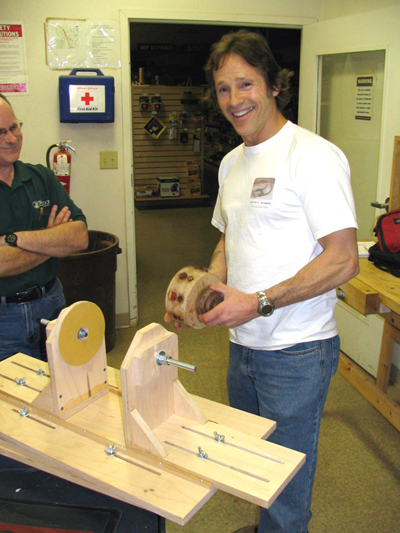
In other news I finally got off my ass and took a whack at finishing the little wooden kinematic models of steam engines I started on a couple of years back. Wellllll I got one more done and several more have moved closer to the finish line! In the process I made a shitload more widgets for the workshop.

Photo #1: I found enough mahogany laying around to laminate and whittle 5 more cylinder blocks. Here they are after the first coat of lacquer.
Photo #2: I decided that the crosshead guides were kinda blocky looking so I made some modifications when I made this next batch. Note two guides made to the original design at the top of the photo; the rest have been thinned, tapered and routed to look slightly more to 'scale'. The wood I used is cocobolo.
Photo #3: I made this aluminum zero-clearance insert for my router table so that I could radius straight-sided small parts (like connecting links and crosshead guide parts) without having a Real Bad Day. I install the brass ring insert in the router base when I do smaller radii with a smaller diameter bit.
Photo #4: Cutting many small bits of dowel and round toothpicks to lengths as short as 1/4" was a real challenge. It was made bearable with these two crosscutting sleds. The smaller one fits a Dremel Moto-Saw; by holding onto the parts with the eraser-end of a pencil I keep my fingers away from danger.
Photo #5: Local Celebrity woodworker David Marks teaches great classes at the local Woodcraft store. I attended one he gave on jigs and fixture design and got many great ideas to speed production of the widgets I'm making.. I'll be cloning the jig in this photo shortly, to aid in turning laminated assemblies.

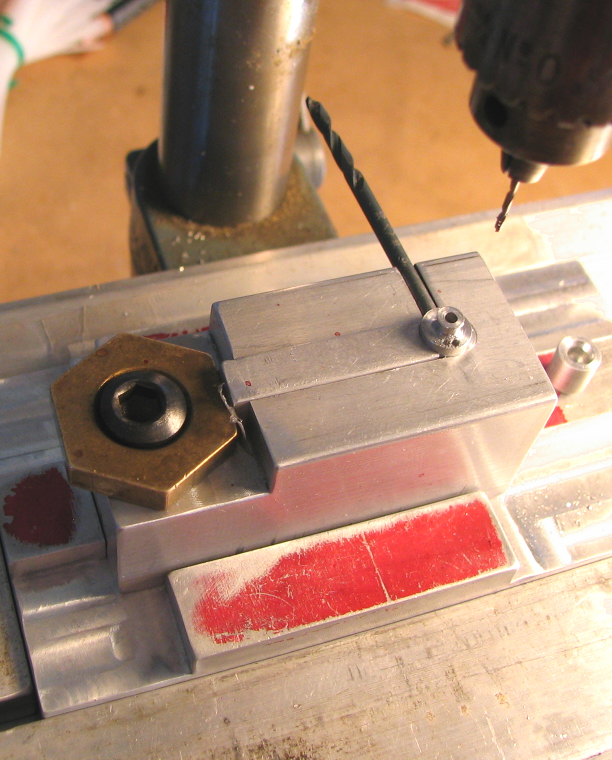
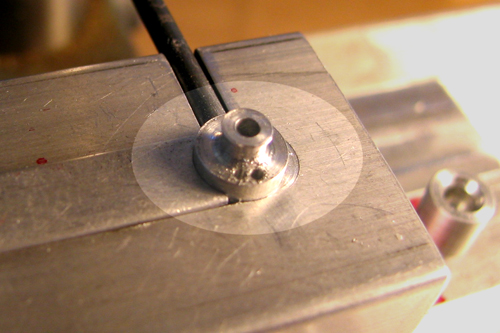
A guy walked in my door and wanted to know if I could make some tiny clutches for him. It eventually turned out that there was just no way I could do them economically, but while reaching this conclusion I went for an interesting ride on the learning curve. The finished piece is 1/4" dia x 1/4" tall. There were 10 seperate operations that had to be performed on each and it took something like 8 minutes to completely machine one part, even with jigs to speed setups: not cheap.

Photo #1: This fixture does several things at once. The drillbit sticking out of the back of the jig fits into a previously-drilled hole in the part, to orient it for the next operation. Once the part is clamped in a small sliding block with a single Mitee-Bite clamp, the assembly is free to slide katty-corner between two sets of stops milled into opposite ends of the baseplate. The two top holes can then be drilled a repeatable distance apart. The cylinder to the right is a tool I chuck to register the fixture accurately on the drillpress.
Photo #2: Hilighting the two #78 holes, drilled through the parts. I used a Cameron Micro-Drill running at something like 40,000 rpm. The final step: laborious deburring...

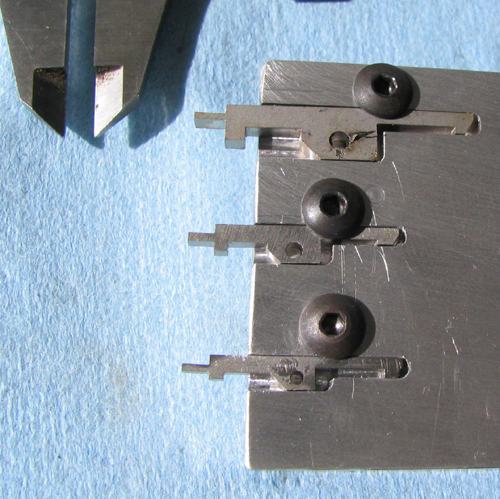
I did one rush job in February and it was a fun one. The customer has invented an improved rifle cleaning kit for Army Special Forces. This improved device eliminates the screw threads used to attach brushes to the end of the cleaning rod. Instead a spring-locking latch is faster to and holds more securely. Unfortunately in a rush to satisfy a massive order he had umpty thousand parts laser-cut with the center hole slightly small.

Photo #1: Note tips of calipers for scale. This fixture can be used with three different sized parts (for various caliber rifles). Once tightened in the jig the irregularly-shaped parts can be quickly drilled to tolerance without burning the operator's fingers or spinning out of control.

All in all Feb was a very fun month. Not only did I get to stretch my skill set a bit, I also stretched my wallet, heh.


Return to Works In Progress