December, '07   Works in progress

Several month hiatus due to life, the universe and everything but mainly Hackers (the good news: they didn't throw me out ...yet.) followed by a pile of maintenance before I could generate a little extra income to pay da bills


Mess #1: my cheapie Pedrazzoli Mec Brown 75 Cold Saw, that I've been beating to death forever seized up! The head couldn't be rotated to cut a miter without the aid of a sledgehammer. It was a decade and 400 miles ago since the last time Vern and I serviced the beastie. With the help of Lancelot, a couple of crowbars, a winch and a lot of elbow grease we finally got the thing apart.

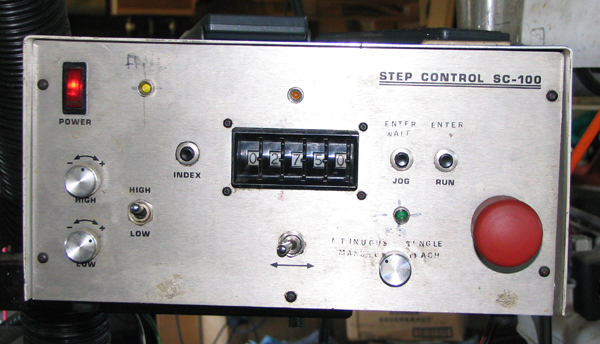
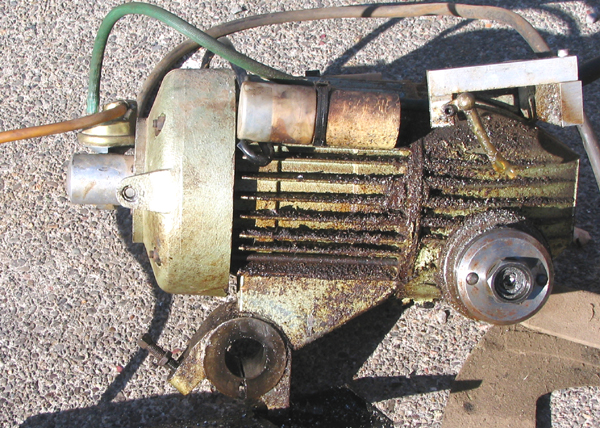
Photo #1: Grubby brute, ain't it? The manual shows one guy holding this thing and slipping it off its main 2" dia horizontal pivot; not likely! It weighs around 200lbs!!
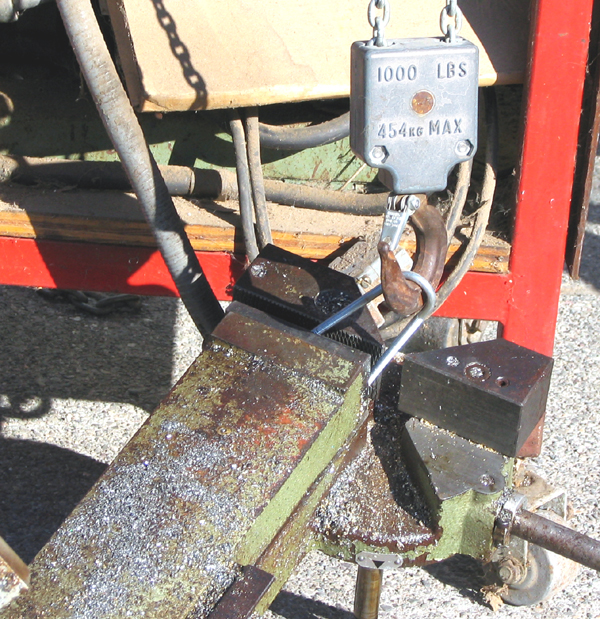
Photo #2: Clamped a large U-bolt in the vise and used the winch to pull it off of the central post. Yeah, it's kinda grubby too.
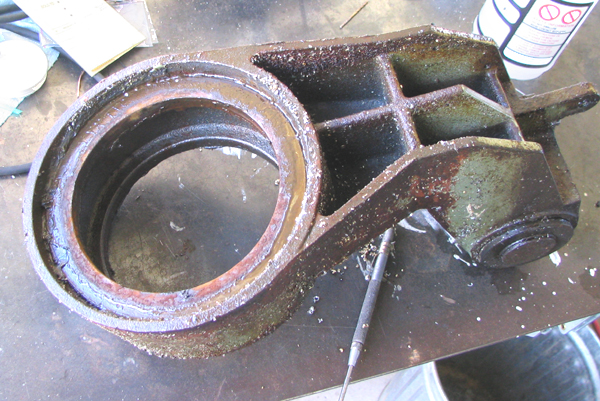
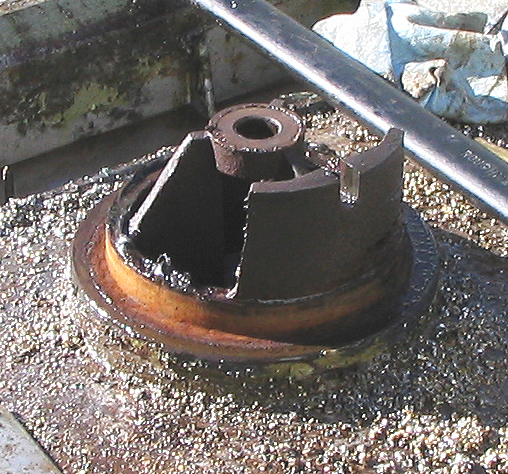
Photo #3: The last bit to come off: the seized pivot arm. Here's a shot of the bottom, showing a ring of rust inside, when the ring of grease squooshed out.
Photo #4: Shot of the pivot post. Note how grease has been pressed out of the area where it's most needed and replaced by a thick layer of rust. There's no way provided to inject grease once it's reassembled either! No real long-time cure for this. It took a lot of chipping with a chisel, followed by wire brushing, sanding and finally scraping to set the surfaces to rights.
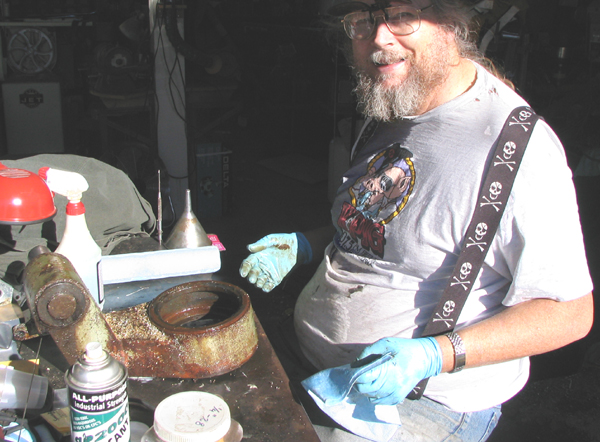
Photo #5: Yours truly, up to my ass in alligators as usual. What a mess!!
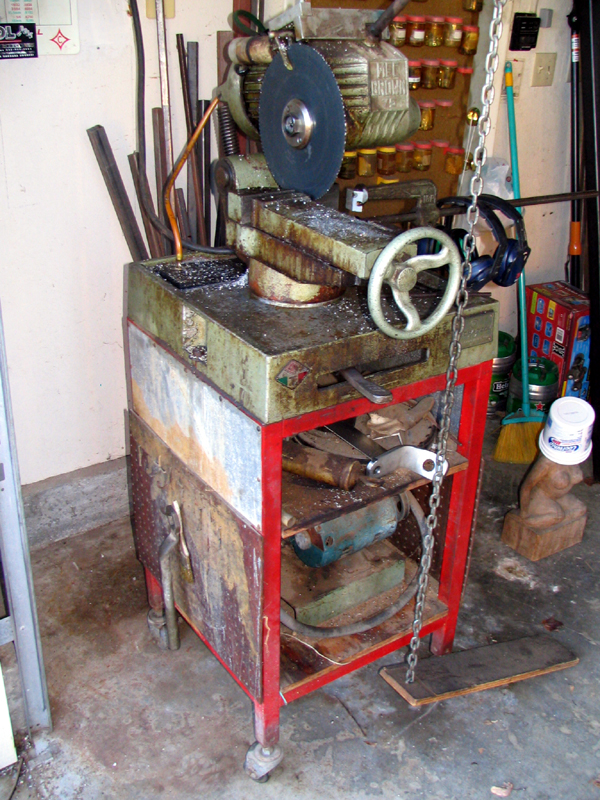
Photo #6: All back together! Kudos to Rod for helping with reassembly, which involved much fiddlyness with realignment and fitting of motor back on the big shaft. We wound up using one of Rod's long pipe clamps, snagging the motor housing with one end and the side of the base with the other and screwing it down (readjusting the clamp several times) to ease the thing together.
The other half of the problem was cleaning out the odd lengths of cut steel and aluminum that had turned the corner of the shop into a spider mecca: yecchhh!

... This month, for those who have asked, I've thrown in a few photos of the single-axis stepper motor cnc controller that drives the X-axis on my Bridgeport mill.

Photo #7: General layout of control panel. The mode knob (lower right) has four positions which are, from left to right, Manual, Continuous, Single and Teach. In normal operation I keep the knob in Manual and do things one move at a time. For repetitive stuff I turn the knob to Teach, then enter and make individual moves. As each move is completed I hit one of the two buttons at the top right; i.e. Enter Wait or just Enter. The former is for drilling; the latter is for backlash compensation and/or returning to the start of a pocket, etc. Once I've taught the thing something and have returned to the starting point I move the mode knob to Continuous, then I can step thru the program one block at a time with the Index button.
Photo #8: Where the rubber meets the road, so to speak. Motor is a honkin' great 200 oz-in unit. It mounts to the table with 4 big bolts via 4 standoffs, a 1" thick machined aluminum adapter plate with a 3" dia aluminum spacer bolted to its opposite face. Shaft is coupled to leadscrew with a big zero-backlash helical coupling.

Return to Works In Progress