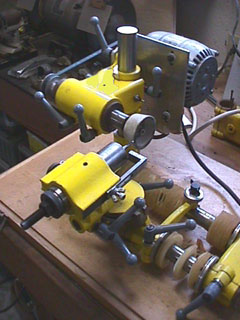
| Photo #1: I got tired of looking at a shop full of dark-colored machine tools. I happened to have some yellow paint at that time, so... |
|
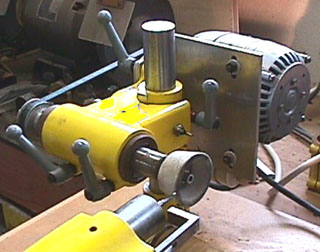
| Photo #2: A close-up of a work in progress. Using my homebrew Large Spiralling Head Assembly, I'm holding a counterbore with an R-8 collet, to reduce the pilot diameter for a special application. This also shows the combination spindle and motor mount assembly I cobbled together. The spindle end is a piece of pipe, slit on the bottom. Two handles tighten the pipe onto the store-bought spindle that fits within. The pipe is welded to a heavy-walled rectangular tube which has been cut out to fit around a casting (forgot what it's called) that attaches to the vertical column. A threaded plate was welded to one side on the rear of the tube and the motor mounting plate pivots from this. Fine spindle height adjustments are made with setscrews that thread into the top and bottom of the tube. The setscrews bear upon the casting which is mostly hidden inside the tube. |
|
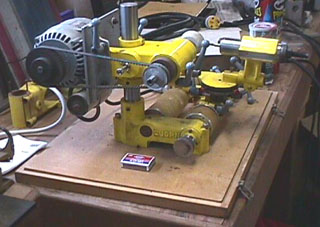
| Photo #3: Here's another view of the combination spindle and motor mount assembly. I used a cog belt and pulleys, as the thin belts round corners easily and slippage is nil when starting the machine, even with belt tension a bit slack; better for bearings and all that. The match box should give a bit of scale for those who have never actually seen the machine. |
|
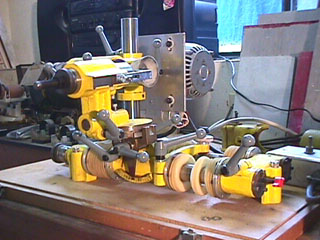
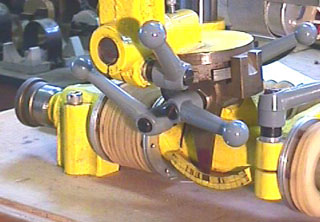
| Photo #4: The operator's side of the machine. The weird rings on the horizontal bars are the decaying remnants of four bellows I used to protect the "ways" from abrasive dust. (As soon as I get off my ass I'll replace these with the spare set.) The 4 bellows fasten on via 6 threaded aluminum rings which, in turn, fasten to the various castings on the machine. Where the two at the rear meet there is no adequate way for them to be fastened, so I let them slide freely on the rear bar; still a big help in mess reduction. The bellows aren't essential, but they were cheap to have made and they do last for a decade or so before needing replacement. Gortex made me eight identical ones for a very reasonable price, even for a special order like this. |
|
| Photo #5: Close-up of a cluster of handles. I got these from Reid Tool Supply Co. I used ten of the "Threaded Stud" type of "Adjustable Handles" as Reid calls them. Mine are threaded 5/16-18 and are *probably* part number KHB-16 ($6.00ea). These can be found on page 97 of their Y2k catalog. |
|