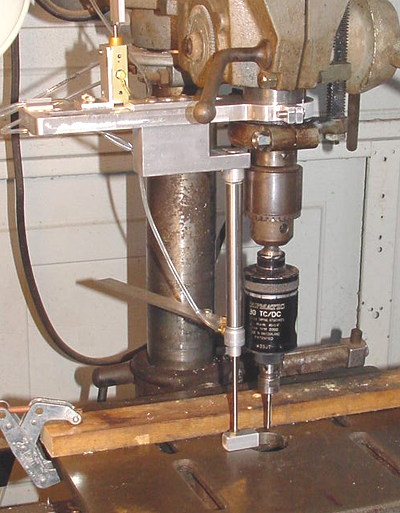
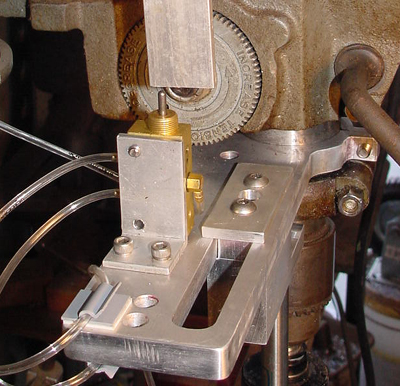
Every now and then I get a job in that requires me to tap or drill a shitload of holes. Frequently the parts I'm tapping are fairly small and holding them becomes a real chore. I've made various fixtures to keep them on the table in such a way that they don't jump up in the air on the return stroke of the tapping head, but these jigs have all been special made for a part with a specific thickness. What I needed was something that would hold any part, regardless of its thickness, to the table, as close as possible to the tap. What I came up with is this little pneumatic holder.
I'd seen something like this device in a woodworking catalog once, but the cost was pretty horrible. I built my version for about $30.- in pneumatic parts and a few odd bits from the scrap bin.
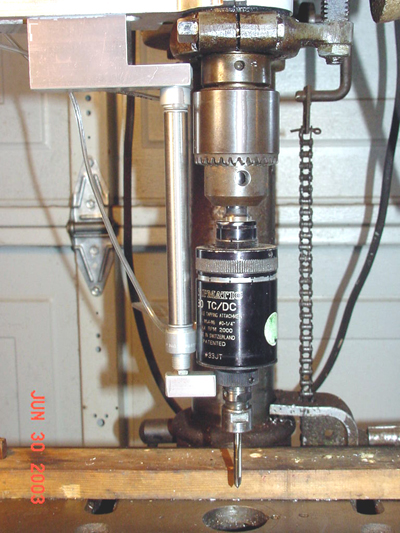
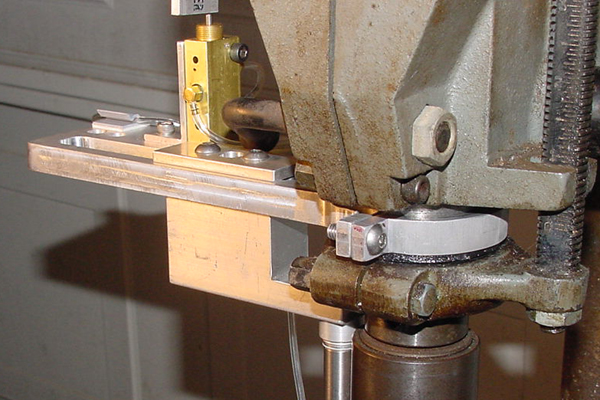
A part is first positioned against stops (bits of wood or barstock clamped to the table) on the right side and behind the part, so that it is lined up for the tapping operation. Once these values are locked in, so to speak, I flick a switch to turn on the compressed air that runs the gadget. Once a part is located I start the motor and begin to lower the quill. As soon as it starts descending a button is released on a pneumatic switch and a little holder snaps down onto the top of the part. Pressure in the cylinder doesn't need to be very high (I'm using about 60psi) and it can be overcome with the leverage I get with the feed handle, so tapping into the part isn't a problem. Retracting the tap is no longer a problem; the part stays put until the tap is well clear and the quill is fully retracted.