|
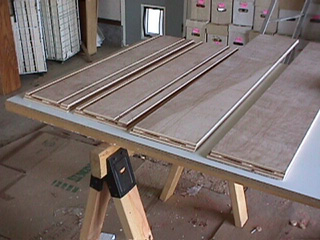
Photo #1: Here laid out are top, bottom and sides, fresh from the tablesaw. Biscuit slots have also been cut in the bevelled ends as well.
|
|
|
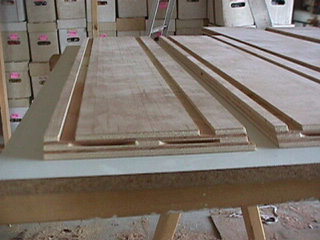
Photo #2: This close-up shows positions of biscuit slots, dadoes and rabbet on the right. Only side pieces get the dadoes, but all four sides get biscuit slots and a rabbet.
|
|
|
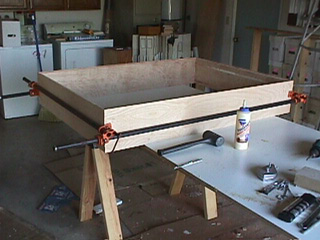
Photo #3: Glue slopped on all joints, biscuits in place and pieces clamped together. I put the four pieces outward-edge down so that the finished bookcase will have a flush exterior edge. Masking tape laid at the inside edge of each bevel makes clean-up of glue squeeze-out a simple matter. I measure "squareness" diagonally corner-to-corner and gently thump the assembly until the two numbers match. My "workbench" is a big-ass hunk of Melamine flopped on a couple of 2x4s, resting on sawhorses. It makes a good, flat surface, which is essential for getting the edges of the bookcase lined up correctly.
|
|
|
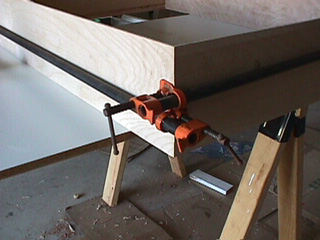
Photo #4: I keep all clamps close to the center of the boards, so that forces are equalized as best as possible across the whole joint. Better clamps than these cheapies would do a better job of course...
|
|
|
Photo #5: To attach the 1/4" plywood back, brush glue into the rabbet, then screw it in place using 1-1/4" drywall screws. I put them in on 6in. centers, so a 3ft by 4ft bookcase uses something like 26 screws. Best to buy them by the pound!
|
Oops! Forgot to take a photo. I'll add one when I make the next bookcase...
|
|
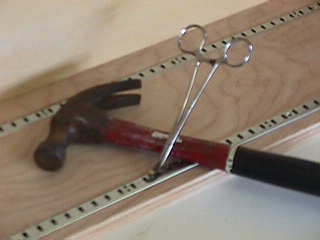
Photo #6: This rather dreadful image shows my "secret weapon". The forceps keep me from banging my fingers when I put the tracks in the dadoes. Those little 5/8" nails can be a real pain without something like this. The hammer is merely propping up the forceps for the photograph.
|
|
|
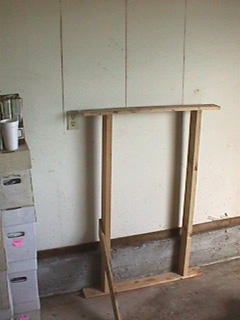
Photo #7: Lines snapped on the wall to mark stud locations. A fainter pencil mark to the left acts as a guide to line up the bookcase prior to attaching it permanently. The wooden contraption supports the bookcase at the proper height (just above the power receptacle). Shims between it and the bottom of the bookcase are used to square it with the pencil mark on the wall.
|
|
|
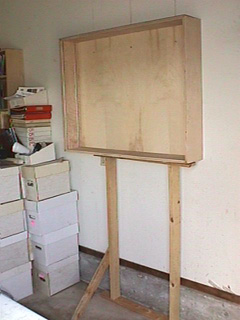
Photo #8: Bookcase perched atop the support. Before I put the bookcase on the support I drive the top row of 2-1/4in. drywall screws through the 1/4" plywood until their points protrude about a quarter inch out the back. This way I can fasten the bookcase to the wall without an assistant. Finally, screw those suckers in, remove the support and drive the rest of the drywall screws home.
|
|
|
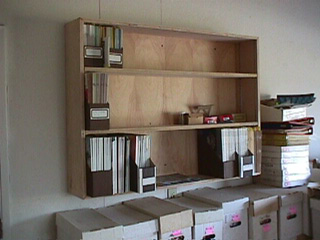
Photo #9: Add some shelves and pile on the books!
|
|