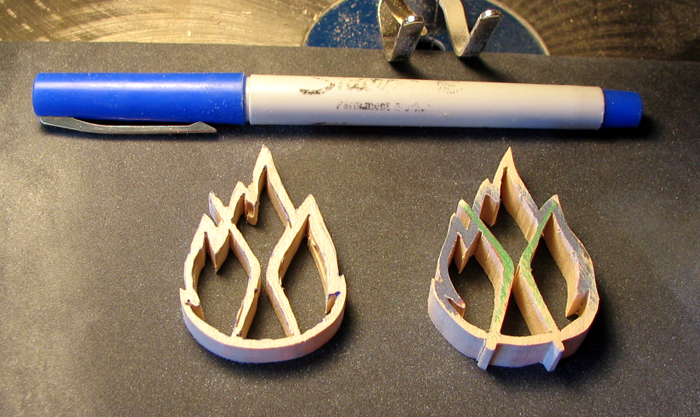
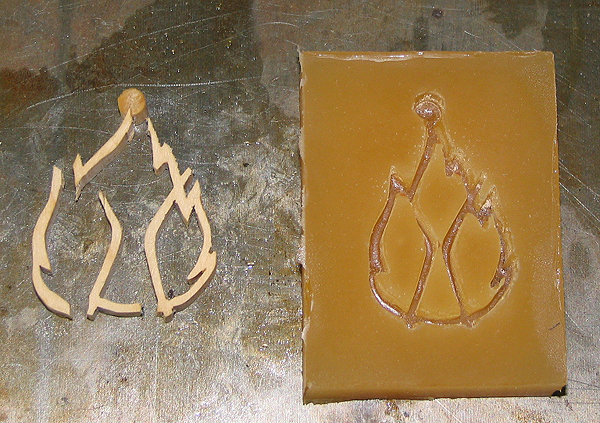
| Photo #1: Early stages on left, final product on right. Before it got to this point I printed the image (a .gif file from our logo on tribe.net) on transfer paper. I ironed the printed image onto a block of wood, then soaked it in warm water to removes the paper, leaving a "decal" made from printer ink and a thin plastic film. After that all I had to do was drill some 1/8" holes to get a jigsaw blade into each area and start sawing away. Magnifying glasses were a big help. |

|
| Photo #2: Not half bad, considering... First attempt on the left, second on the right. Aesthetics are slightly better on second one. I practiced detail carving on the first one and promptly split it in one spot. Don't think I'll try that again on the good one. Not sure if I should dress it up with a sanding stick or just go with it as is. |
|
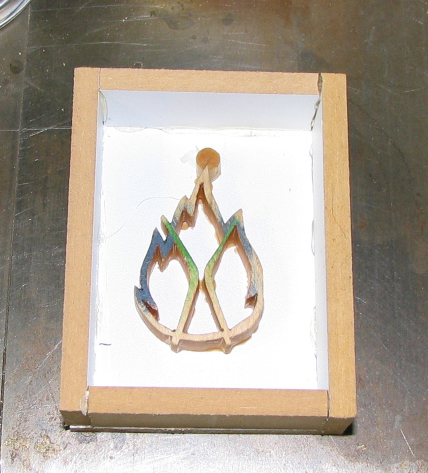
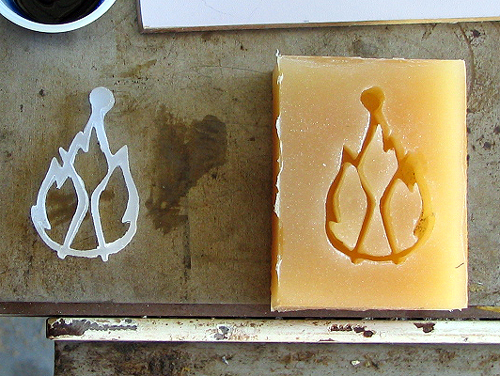
| Photo #3, Sunday, May 7: After dipping part in hot wax two times, to smooth out marks made by jigsawing to shape. Mold box is made out of a spare hunk of coated 1/4" material I found in the shed. Note addition of round section to top of pattern. Once cast it can be drilled out for a necklace string. |
|
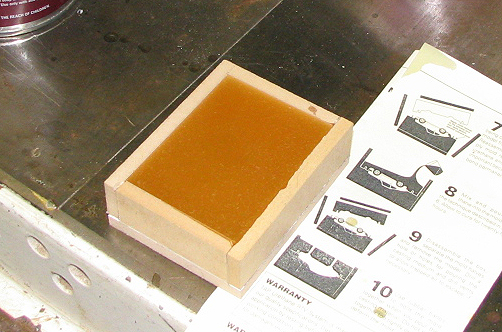
| Photo #4: Goop poured into mold. I shimmed one side with bits of paper, as my shop's floor isn't quite level. Once this was done I stuck it all under a lamp with a 60 watt bulb for the remainder of the day and overnight. By morning it was ...well, mostly cured. |
|
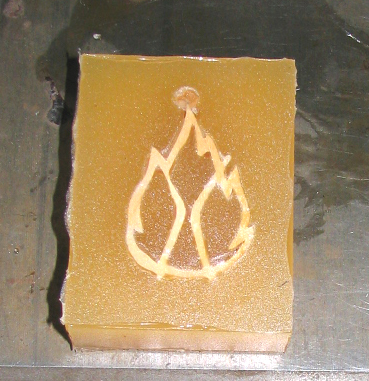
| Photo #5, Monday May 8: Mold out of mold box; looks pretty good but there was some bleed thru and I had to sand this surface to fully reveal the pattern's edges. |
|
| Photo #6: After a lot of struggle I managed to prize the pattern out of the mold. I found that the perfect tool for extricating it was a paint can opener. Lessons learned: paraffin is the wrong stuff to use to smooth a pattern: it melted in the hot mold curing process. It makes a lousy mold release too... Still and all the mold came out looking pretty good. Oh, and the depth I poured to encapsulate the pattern was way too much, making it difficult to flex. |
|
| Photo #7: First part cast and out of the mold. This time I used Pam as a mold release. The stuff is supposed to cure in "90 seconds" but it was a lot more like 90 minutes! I kept it under the 60-watt bulb to maintain all at the recommended cure temperature of 140 degrees. But the part was still flexible when I dug it out of the mold. After I got it out I stuck it under a hunk of steel to flatten it overnight. |
|
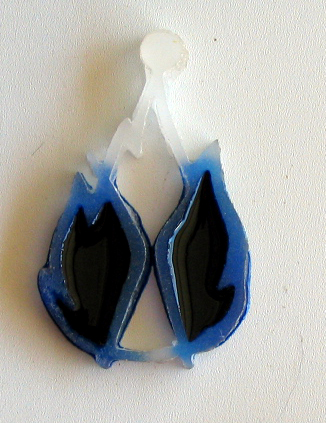
| Photo #8, Tuesday, May 9: Here I've sanded the part top and bottom, to take off flashing and to thin it a bit. At this point I poured some more of the same goop, tinted blue, into two of the chambers. The remaining space will get red dye. Lesson learned: a little of the dye goes a loooong way; I used less than a drop this time; I'd use a lot less next time. |
|
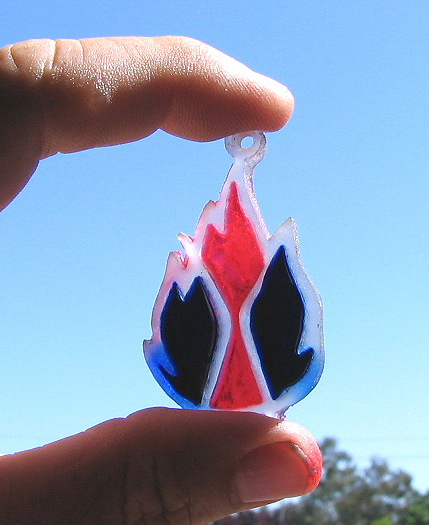
| Photo #9: First one done I guess. Definitely a long way from beautiful. Lessons learned this time: Pam makes a rotten mold release on Melamine; will try paste wax next time. The Alumilite goo cures as advertized without a lamp shining on it; if anything I'd say the lamp hinders cure time (keeping the mix soft due to low melting point of the resulting plastic?). I barely touched the mixing stick to the red dye and the mix came out much more translucent. Note eyelet has been drilled and chamfered; the stuff machines very easily. In the interest of saving time (I want to show off the thingy tonight) I left out the burning guy's brass "head". |
|